
Your Cart is Empty

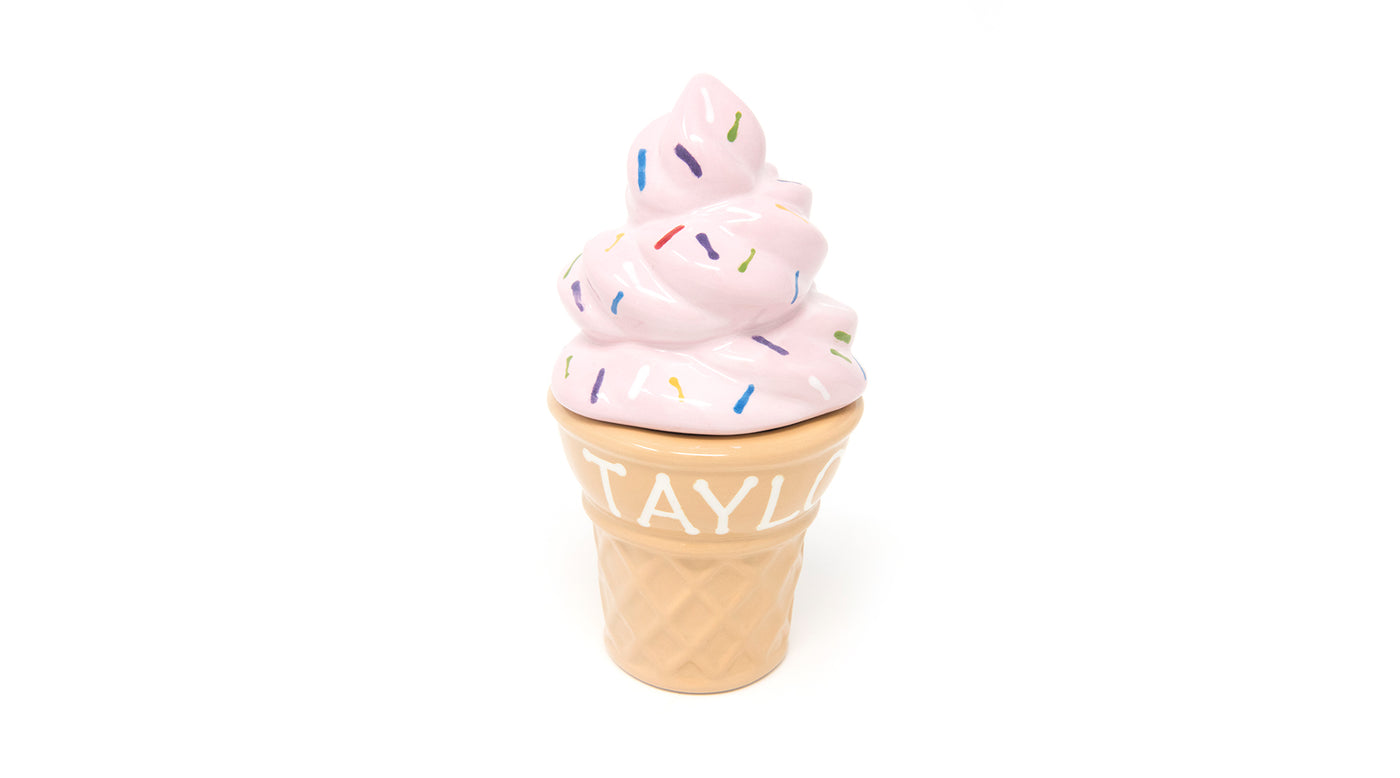
Learn how to paint this delicious ice cream cone box in 4 easy steps! It is simple to add stickers to personalize your item and add sprinkles!
CLICK HERE TO BUY THIS ITEM FROM OUR ONLINE STORE.
Supplies

Steps
Learn how to paint your own pottery and ceramics at Polka Dot Pots! We are located in Wisconsin Dells, Wisconsin, Smoky Mountains, Tennessee, and Poconos, Pennsylvania. We'll teach you techniques that are so easy, anyone can create a masterpiece!

I will never write on pottery free hand again! Stickers are the way to go. I would put all of my flash drives in there.

My daughters hair ties and barrettes for sure!!!

I would keep my “rainy day money” , only I would know it was there.
That would be a treat!

I’d keep hair ties and rubber band ties in there.

I would use it as a candy dish on my desk at work.

Congrats to Melissa B (commented on Facebook) for winning the Ice Cream Cone Box! Thanks to everyone who watched the video and commented!

I LOVE WATCHING THESE VIDEO’S, I’VE LEARNED SO MUCH. I CAN’T WAIT FOR MY NEXT VISIT TO THE DELL’S. GOING TO POLKA DOT POTS IS BY FAR MY FAVORITE PART OF VACATION!! I WOULD SET THIS NEXT TO THE CUPCAKE I MADE LAST YEAR AND PUT MY BLACK FRIDAY SHOPPING MONEY IN IT!!!

Superb!I enjoyed it.

I would put headbands, clips, and bobby pins in it.
Comments will be approved before showing up.
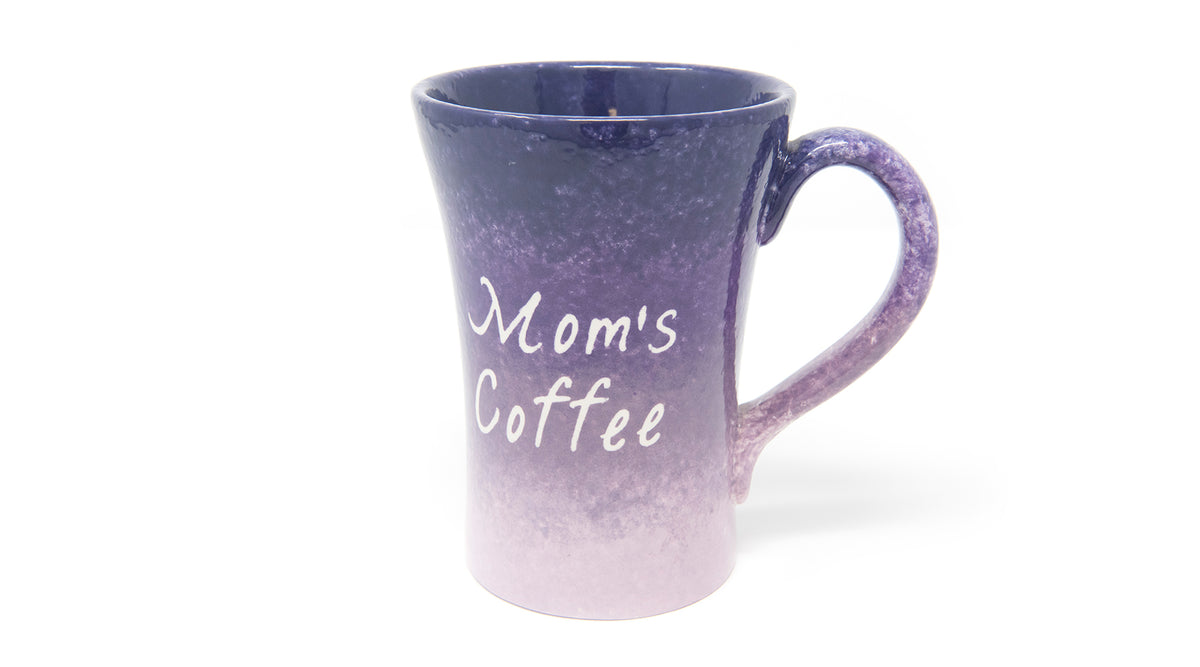
The effect of going from light to dark colors is called "ombre." It looks great and is super easy! You can apply the ombre effect to many pieces of pottery, and you can use all kinds of colors (we have so many different shades of pink in our studios, it's not even funny)! My favorite alternate title for this video blog is: Four Shades of Purple!
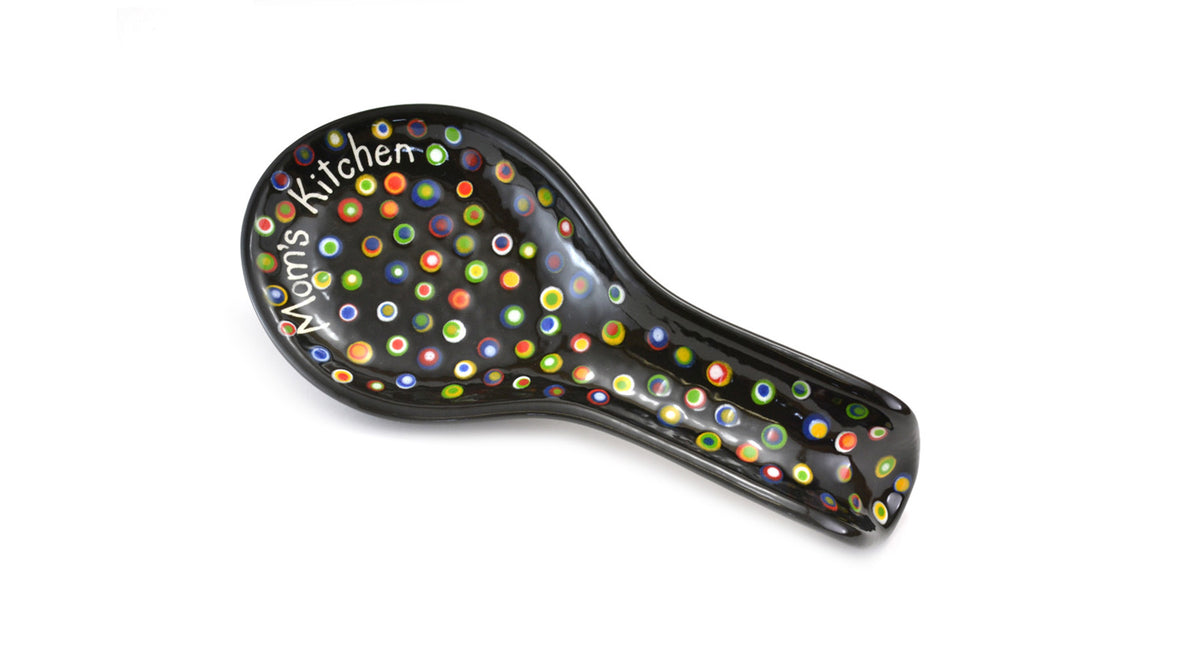
Learn how to paint this gorgeous and functional ceramic spoon rest in 4 easy steps! It is simple to add stickers to personalize your spoon rest and add multiple layers of colorful dots.
Mackenzie Dotseth
July 14, 2017
I would probably keep my money or Chapstick because my friends wouldn’t think of looking in there :)